15 January: Fuselage 1

Hours today: 4.0 Hours fuselage: 4.0 Hours total: 277.0
Rivets today: 0 Rivets fuselage: 0 Rivets total: 5637

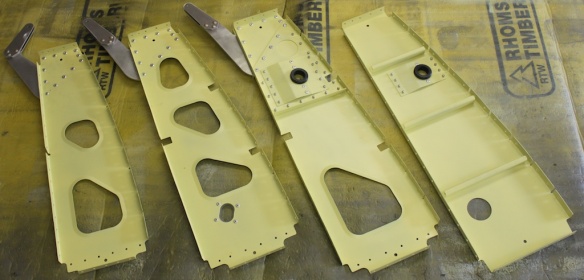
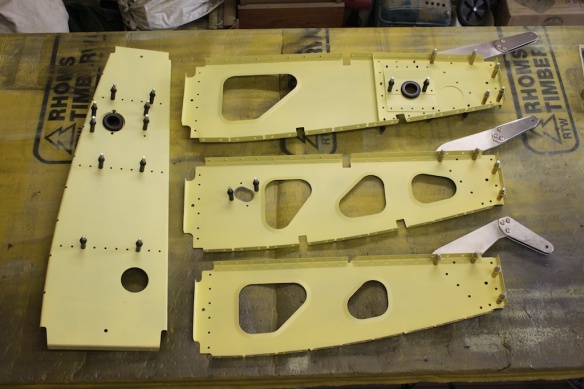
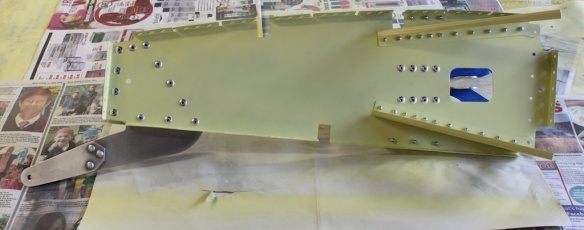
Received the fuselage kit, and spent a long while checking it against the inventory. It was mostly there… The process gave me a chance to figure out what is in the kit, and also to store it.

The kit is a monster: a flat box weighing 130kgs, and a few longer pieces packed in bubble wrap. The box is full: lots of skins, and also some big heavy pieces of metal like the engine mount. It is certainly exciting to see what is in store.

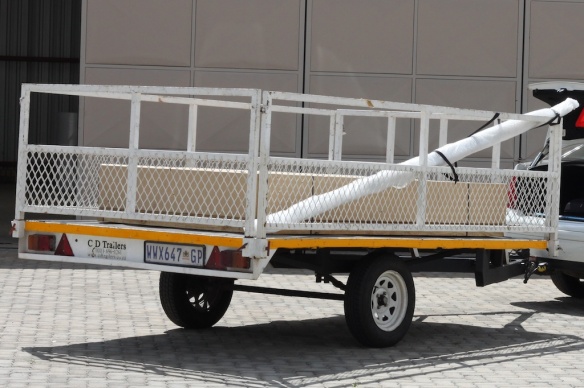
The fuselage kit on collection.

The fuselage kit on collection.

3 January: Right wing 35

Hours today: 2.7 Hours wings: 178.5 Hours total: 272.8
Rivets today: 0 Rivets wings: 3558 Rivets total: 5637

Worked out a recipe for filling rivets. It might well get adapted later. First, inject filler into the hole in the rivet, leaving a slight molehill:
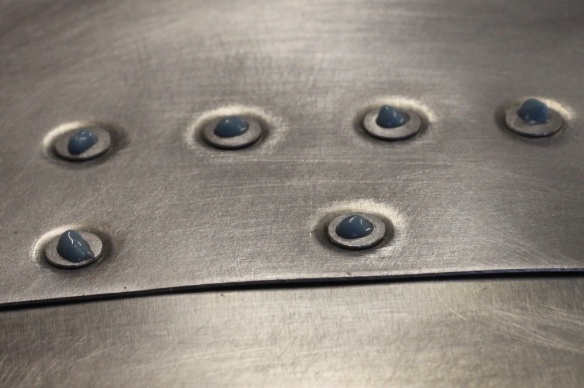
Rivet centres filled.

Rivet centres filled.

Wait for the molehills to dry, then cut them off flat:
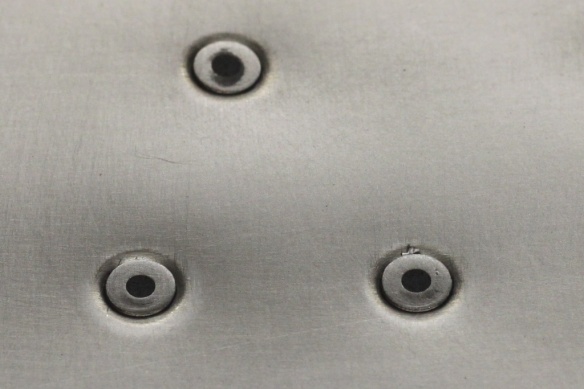
Rivet molehills flattened.

Rivet molehills flattened.

Then put a ring or blob of filler over the whole area, and wipe off excess with a paper towel dipped in lacquer thinners (apologies for the poor photo below).  I started by just removing the bulk of the filler with a wooden tongue depressor, used as a knife, then let the filler dry. I only removed the excess once things were dry, using lots of thinners and elbow grease. Later on, I switched to removing the filler while it was still wet, which is much easier.
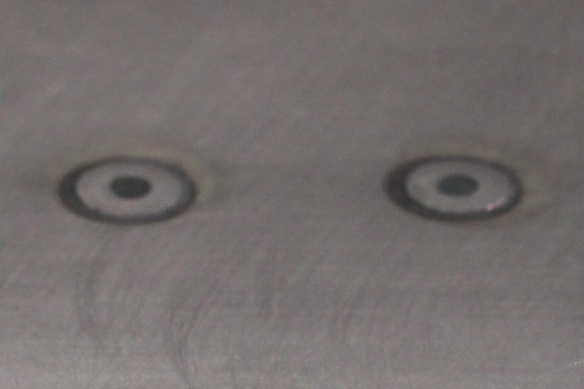
Rivet with donut of filler around it.

Rivet with donut of filler around it.

The centre needs to be injected, because otherwise the hole only gets a thin layer which easily pops. I’m not certain if the donut is required or if the paint will cover it, but I think it’s going to give me the effect I want: obvious rivet postions, but not obviously pop rivets.

30 December 2012: Right wing 33

Hours today: 0.4 Hours wings: 174.0 Hours total: 268.7
Rivets today: 0 Rivets wings: 3558 Rivets total: 5637

Okay, so what I’ve been doing for a while now is avoiding the right wing. It needs its rivet holes filled in and cleaned up. I’m not sure exactly how to do it, I don’t like the smell of the filler, it is summer and I’d rather be in the pool. But the time has come: I’ve done as much as I can on the left wing, with the right wing still in the garage. To get rid of the right wing permanently, I need to finish it. So enough procrastination.

Today I degreased all the rivets on the underside of the wing. The wing is pretty dirty, so it was a big cleanup. Tomorrow the testing starts to get a good recipe for filling the rivets.


15 December 2012: Left wing 15

Hours today: 2.0 Hours wings: 166.5 Hours total: 261.2
Rivets today: 0 Rivets wings: 3406 Rivets total: 5485

Some background: the landing light cover is held on with small self-tapping screws that drive straight into the cover material. However, these aren’t countersunk, so look a little out of place on a flush-riveted wing. I decided to countersink, use 2.5mm countersunk machine screws, and glue some kind of nut onto the light cover. I haven’t figured out the nut strategy yet.

Tried the dimpling tool on the landing light cover holes. I couldn’t get the machine screw to apply the necessary pressure. Turns out my test piece of aluminium is a bit thinner than the actual skin! I worked out that I could mount the punch and die in the big dimpling tool:

Small dimple dies mounted on big dimpling machine.

Small dimple dies mounted on big dimpling machine.

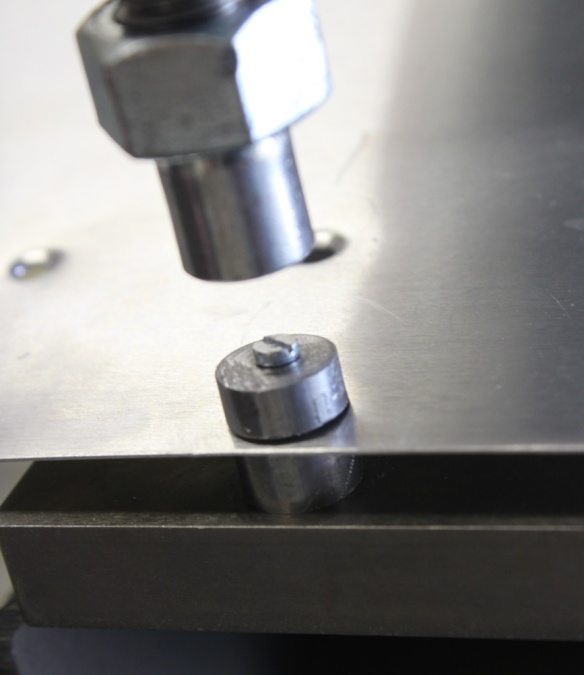
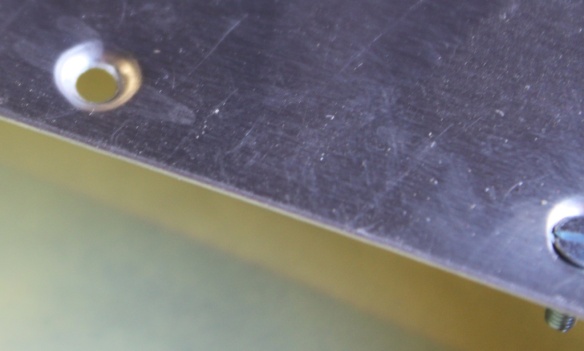
The screw keeps the top and bottom lined up in the target hole. I took the normal dies off the dimpling machine, and the screw head fitted easily in the hole that usually supports the die. I then took a really shocking picture of how well it worked. This one shows the very neat countersink, with the screw in another one, just visible.

The dimples produced, and a hint of what the screw looks like in one.

The dimples produced, and a hint of what the screw looks like in one.

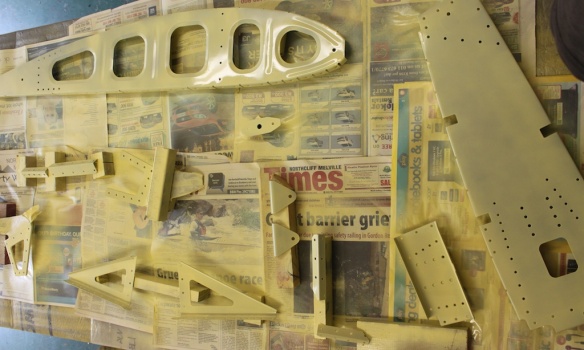
I also primed the skin that contains the landing light, as will as rib 8 and its parts, and the end rib and its parts.

Rib 8 and end rib parts

Rib 8 and end rib parts


8 December 2012: Left wing 14

Hours today: 1.4 Hours wings: 164.5 Hours total: 259.2
Rivets today: 0 Rivets wings: 3406 Rivets total: 5485

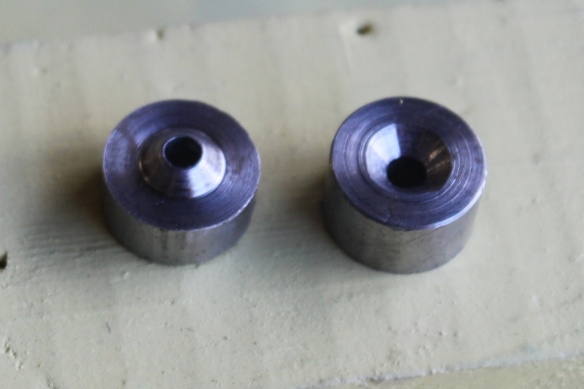
Roughened, dimpled and degreased the leading edge skin that contains the landing light. Not included in the time logged here, I made a tool to dimple the holes that hold the screws that hold on the landing light cover:

Small dimpling tool.

Small dimpling tool.

Compared to the dimpling tool that I made to use with the manual rivet tool, this doesn’t have a shaft. I couldn’t turn on in the space available, and I need a reasonable sized hole through the middle to line up the punch and die.

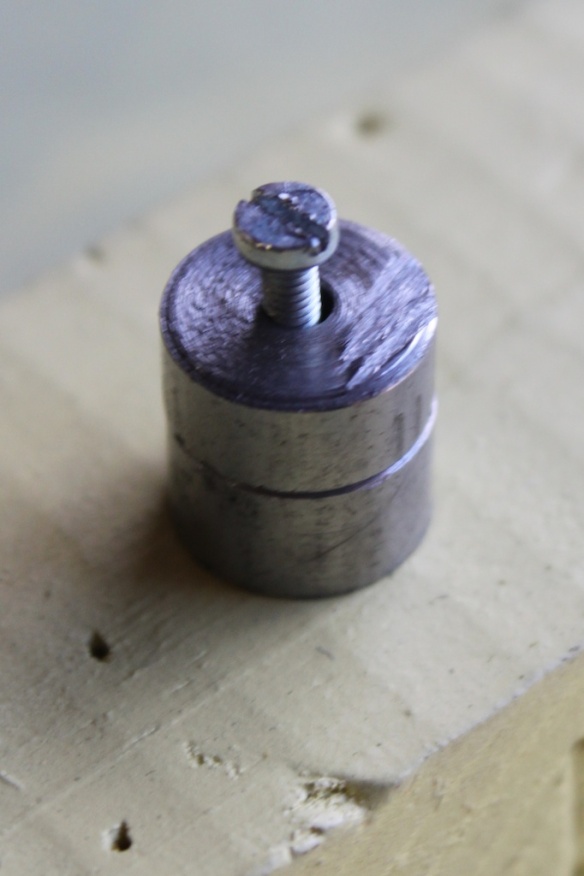
Tool with machine screw through it.

My plan was to simply place the die and punch either side of the sheet metal, then close them together by running a bolt (machine screw) through them into a nut. It worked pretty well with the test piece of aluminium sheet that I tried it on.