| Hours today: |
2.2 |
Hours wings: |
218.0 |
Hours total: |
316.9 |
| Rivets today: |
0 |
Rivets wings: |
3852 |
Rivets total: |
5931 |
Sanded the final layer of filler. It feels better than it looks, because all those layers have slightly different colours. I hope this doesn’t end up being a disaster, but I’ll consult with the painter when the time comes.
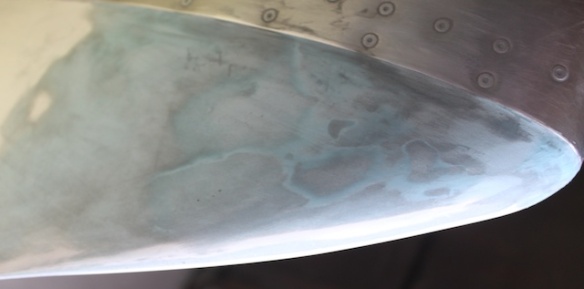
Wingtip smoothed off
We then turned the wing over. I had in the meanwhile found the rivnuts for the hatches, so I installed them, complete with Locktite.
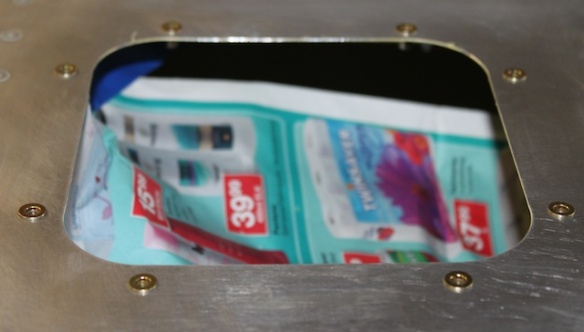
Rivnuts on inspection hatch under wing.
I filled all the rivet holes on the underside of the wing, for the outermost rib and the wingtip. I also added a little bit of filler to the front of the wingtip where it didn’t mate perfectly with the skin. I might be going overboard here.
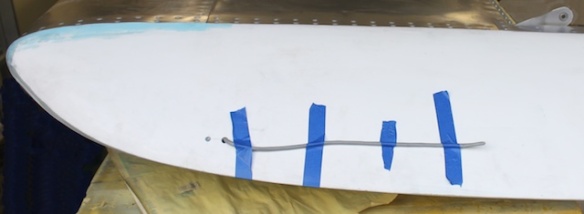
Bottom of right hand wingtip.
I also had a go at figuring out how to assemble the landing lights. The instructions leave something to be desired, and the only photo I have of an assembled light also doesn’t provide any clues. At the moment, 1. I don’t see the point of the second plate, between the mounting plate and the back of the light, and 2. the pack comes with springs, but I can’t figure out where they go. I’ll have to give the factory a ring.
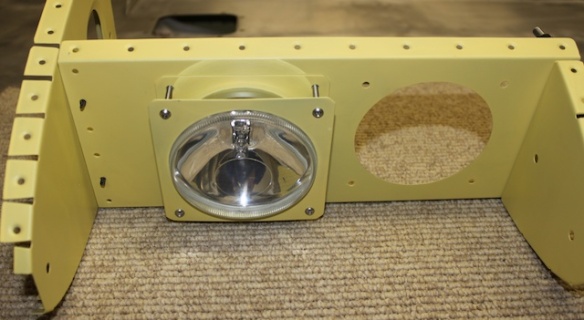
Test fitting one of the landing lights.