| Hours today: |
4.6 |
Hours wings: |
110.3 |
Hours total: |
205.0 |
| Rivets today: |
572 |
Rivets wings: |
2226 |
Rivets total: |
4305 |
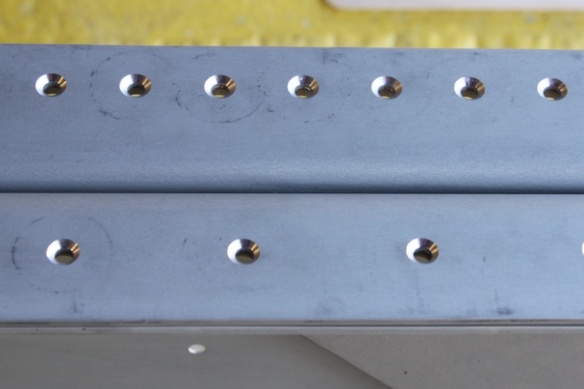
Started the day by putting the last coat of primer on the stringer. While that was drying, I did some countersinking of parts that fit on the fuel tank. I haven’t yet put up a photo of the countersink tool. Here’s the business end:

The countersink tool and some countersunk holes on the main spar.
The tool consists of a cage with a nylon foot, and a mounting for a cutting tool, just visible inside the cage. In use, the other end of the tool mounting is driven by a drill. The tool can move down relative to the cage, but only to a set distance. It works well, and gives very consistent countersinks. The only problem I found with the hand drill was telling when the tool had stopped cutting.
The flanges that hold the fuel filler cap, and the fitting that holds the drain plug both need to be countersunk. The flanges were easy, but the drain plug was a bit of a problem. The central part of the fitting (the boss) interferes with the cage, so instead of setting the system to countersink just a millimetre or two, it needs to be set to allow the countersink to travel down past the boss and then cut the required distance.
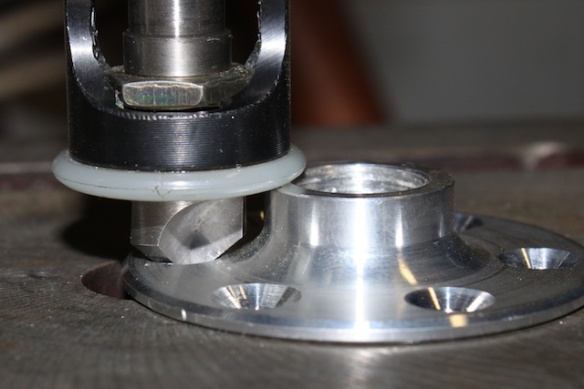
Countersinking the drain plug fitting.
This turned out to be tricky, as there isn’t enough travel in the tool. With the tool set for maximum travel, it was still short of about 2mm. I got the extra travel by inserting a large diameter, but thin, nut between the cutting tool and its mounting. The nut is effectively acting as a thick washer. The nut is visible in the photo just above the bottom part of the cage. This setup may not be ideal, but it worked well, and gave me twelve nice countersunk holes on the two drain plugs.
Back to the real work. With the stringer now dry, I put it into place in the wing, and rewired the cable for the nav light and strobe. Then, after checking alignment of the jigs, the two bottom skins and the leading edge skin went on with clecos. Turn over, check alignment again, and cleco the three top skins on. All the skins need to be cleco’d to ensure that everything is sitting as will do when the wing is finally assembled. Turn over again, and check alignment on the bottom again.
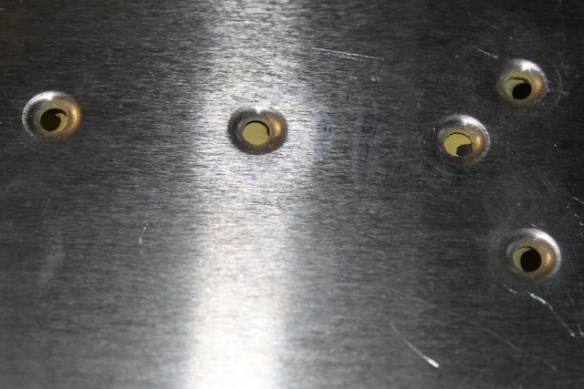
I noticed the last time I was at the factory, that on the wing they insert all the rivets, then pull them, so I followed suit. Here’s a small part of the forest of rivets waiting to be pulled. This view is of the underside of the walkway area at the root of the wing.

The rivet forest in the walkway area.
After pulling all the rivets, out came the clecos, then I finished by inserting rivets into each cleco hole. This time, I inserted and pulled at one go. Here’s the walkway area, seen from the root, with all the rivets in:

Underneath the walkway area with all its rivets.
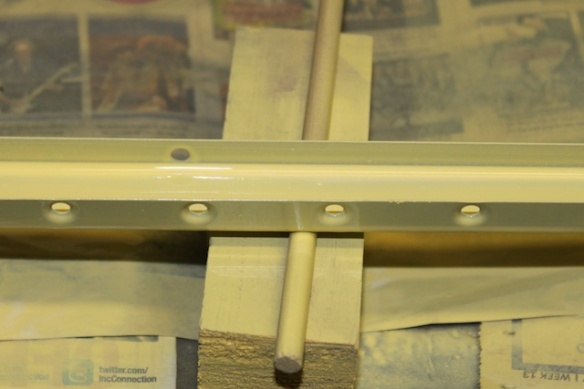
I tried to be careful about not putting in rivets where other things (the fuel tank) are due to go later. I think I got all the holes, but there may be one rivet that has to be drilled out. Here’s where the tank goes next to the leading edge skin.
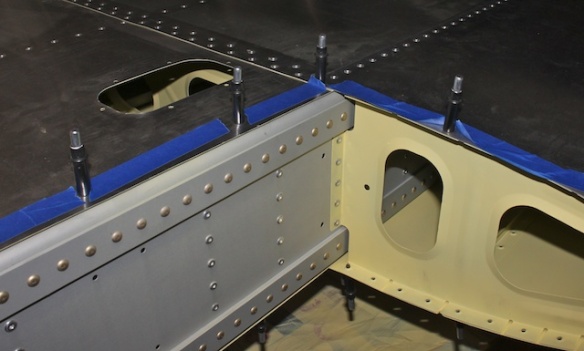
Where the tank will join the leading edge skin. Blue tape is used to indicate holes that must not be riveted until after the tank is installed.
It was a good day. I can’t remember my one day record for rivets, but I was close to it today. The wing is now ready for inspection. I’m hoping to get an inspection this week, to write off all the bits done to date. I’d like to get the right tank up to inspection state before then, but that may not be possible. I really want to get this wing and all its bits and pieces (ailerons, flaps, tanks) out of the garage, to make space and get going on the other wing.

