| Hours today: |
3.3 |
Hours fuse: |
161.9 |
Hours total: |
578.7 |
| Rivets today: |
185 |
Rivets fuse: |
2304 |
Rivets total: |
10 607 |
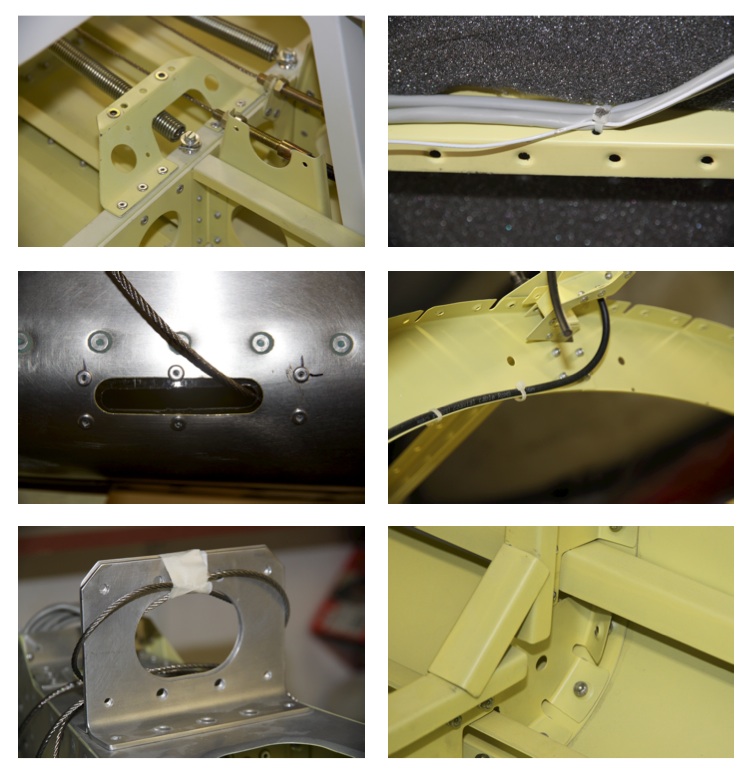
Today I went to the factory to collect some parts. While I was there, I took a look at how they assemble the bit I’m currently working on. I learnt a few things:
- They put the outside skin of the cockpit on first. This makes fitting sound proofing easier, and generally seems to work well.
- On the same point – they put the soundproofing on the outside skin, not on the inside skin as per the drawings.
- There are a few parts that form a ledge for a cover that go on the rear of the console, and on the inside rear cockpit skin, in the area behind the seats. These parts do not correspond to holes on the console and skin, so need to be drilled.
- However, these parts should also not be riveted in place until the control torque tubes that go to the wing are in place – so not for a long while.
- It is easier to install bits onto the firewall before putting the firewall in place. This is tricky for me, because I don’ t yet have the bits that go on the firewall. So I’ve ordered the firewall forward kit.
All in all, it was good to see that I’m largely on track, and most of the assumptions I’d made are correct.
Once I got home, it was time for a rivet fest. I started with the rear portion of the console, where I assembled the upright, the horizontal plate and one of the covers. I left the other cover off in case I might need access while assembling the rudder cables.

Rear portion of console
I also riveted in place some bits and pieces that have been sitting on clecos, mostly stop plates for controls.

Stop plates riveted
It is a tricky job, and I used the hand riveter. Even so, you can see damage to the priming, because everything is fairly close together, and riveting needs a bit of power.
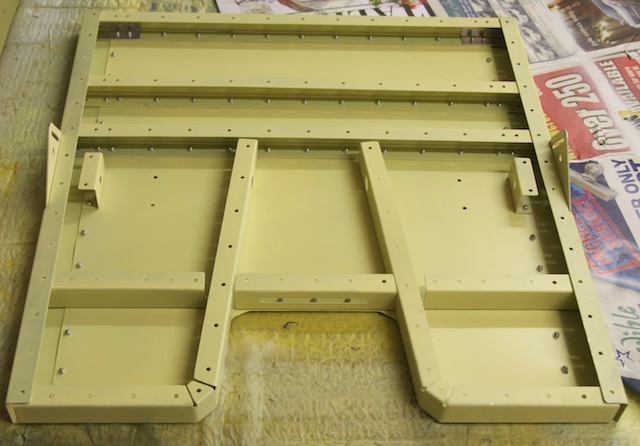
I also riveted the outside cockpit floor to the inside floor:
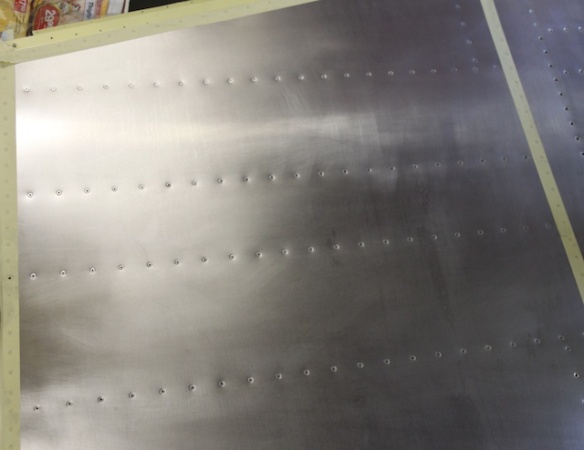
Outside cockpit floor, riveted to inside cockpit floor.
The instructions suggest putting the outside floor onto the main spar structure portion, then putting on the inside floor. I’ve chosen to join them first, then attach to the main spar structure.
I had collected the missing reinforcing plates for the headrests from the factory, so I prepped and primed them, then complete the seat. Then I started on the second seat, unwrapping and deburring parts. During this process, I found the reinforcing plates! They were in the packing with the small parts, and not with the aluminium parts. I’ll return them to the factory, as I need to go and chat to them again.
Work is going well. I have ordered the undercarriage, and it is scheduled for delivery on the 15th, two weeks from now. So my ambition, perhaps misplaced, is to try to have the fuselage ready to go on the wheels by the time they arrive. But we’ll see.