| Hours today: |
2.7 |
Hours wings: |
245.5 |
Hours total: |
344.4 |
| Rivets today: |
0 |
Rivets wings: |
4754 |
Rivets total: |
6833 |
Fixed issues raised in the inspection:
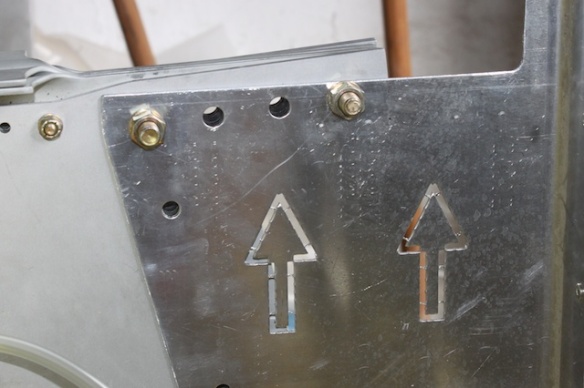
Jig now on inside of main spar
Edge protector on rib opposite cable, to prevent potential damage to cable if it flaps a lot under vibration. I also superglued all the edge protectors.
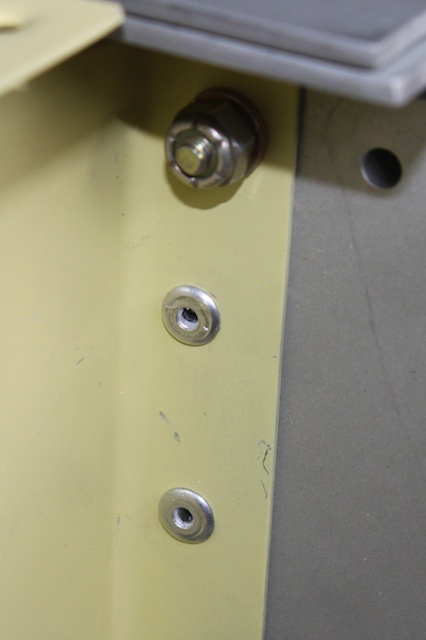
Top rivet wasn’t properly seated. Replaced with this one. Not a nice job, because there’s not much room for the riveter.
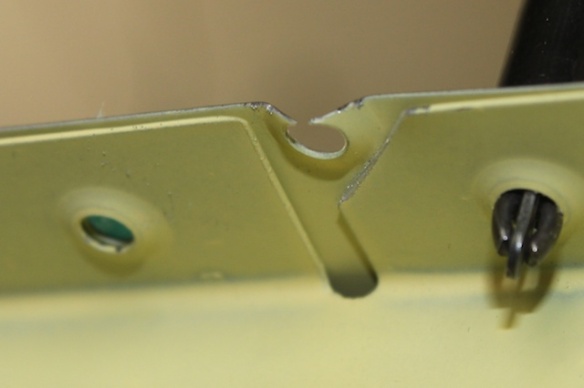
This rivet hole clashed with the flange of the rib, so the rib was cut back gently to fit.
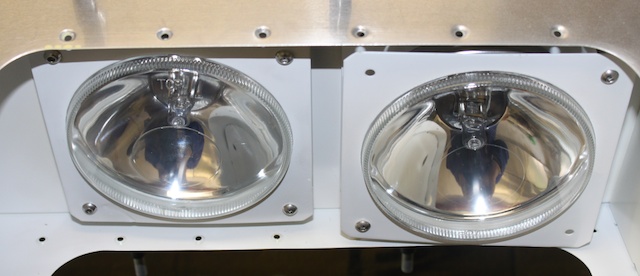
When Gareth came to do the inspection, he also cleared up an issue for me: the landing lights. As mentioned here, I never could get the landing lights to fit, or understand the springs. Turns out the solution is simple: the cover needs to come off the landing light:
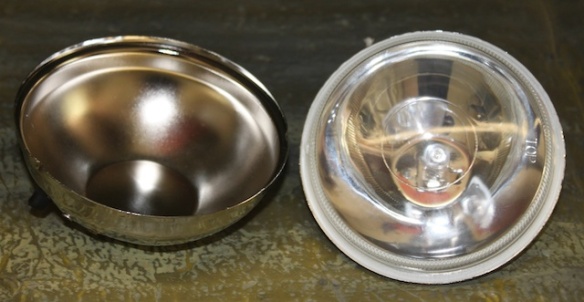
Landing light and cover.
With the cover off, the light fits properly into its two plates, and now the springs also work properly: they act against the screws to allow the direction and dip of the light to be adjusted. On the left is the light out of its covered, properly mounted, and on the right, the light still in its cover, to show how badly it fits.

Left hand light has been removed from its cover.
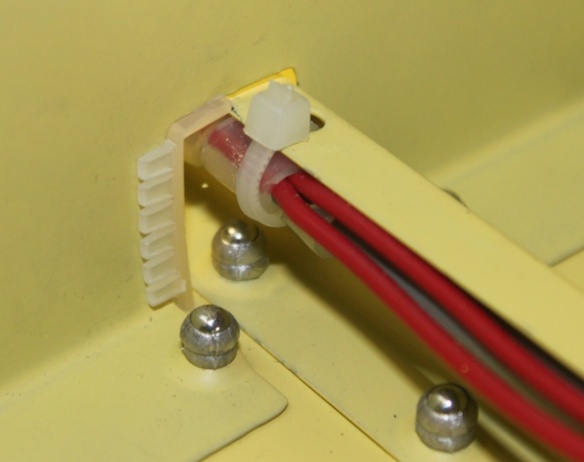
All of a sudden, the problem of fitting the transparent cover the lights goes away. I took the opportunity of messing with the lights to fit crimp terminals to the wiring for both lights:

Crimp terminals visible.
The earth cables go to a good earth point nearby. The power leads run down a stringer to the end of the wing, where they will eventually get into the cockpit. Two power leads for redundancy.
I’m using shrouded plastic connectors to prevent shorting, and two types of connectors so that the lamp can’t be connected incorrectly: spades for positive, and circular for ground.
Before I can close the top of the wing, I need to finish the last stringer. So I roughened and dimpled, then degreased and primed.
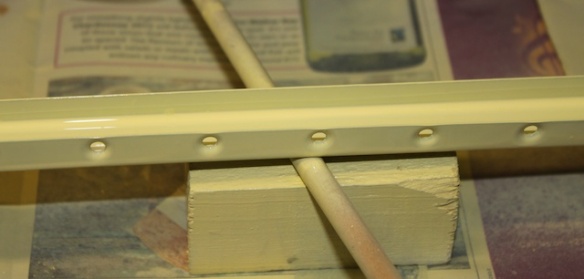
Stringer being primed.
A good day’s work.