18-20 August 2014: Fuselage 75-77

18 August

Hours today: 2.2 Hours fuse: 196.3 Hours total: 613.1
Rivets today: 0 Rivets fuse: 3879 Rivets total: 12 182

Not much in the way of photos, because the work is not very photogenic. Smoothed all the rivet heads on the rear fuselage.


19 August

Hours today: 1.8 Hours fuse: 198.1 Hours total: 614.9
Rivets today: 0 Rivets fuse: 3879 Rivets total: 12 182

Filled rivets on the rear fuselage. Did some test fitting of the rudder cables.


20 August

Hours today: 4.3 Hours fuse: 202.4 Hours total: 619.2
Rivets today: 1 Rivets fuse: 3880 Rivets total: 12 183

Filled all the remaining rivet heads on the rear fuselage. Add one rivet at the very rear of the plane where there was a hole that needed drilling to put in a rivet. Test fitted sides to the Centre Fuselage and floor. Realised that the sides are going to need some prep, and that I should really start by fitting the floor of the forward part of the cockpit.

15 August 2014: Fuselage 74

Hours today: 1.8 Hours fuse: 194.1 Hours total: 610.9
Rivets today: 0 Rivets fuse: 3879 Rivets total: 12 182

I’m writing this on a cold, wet and miserable week-end, catching up on the week’s building. Today (well, Friday) I fixed a problem with a little strip that goes into the canopy railing near the middle. It clashes with rivet heads, so it needed a little bit of sanding to make space. I’ll photograph it sometime and post it here.

I also started smoothing the rivet heads down on the nearly complete rear fuselage skins. I can’t really put this off, because right now, I can easily turn it over, but soon, once it is connected to the centre fuselage, it’s going to become a lot bigger and heavier, and more difficult to just move around to suit me. So I spent a painful period making the rivets nice and smooth. In the process, I notice a couple of poorly placed ones that I plan to fix once I get back to this. I’m about half way, so  more smoothing, and a lot of filling still to come.

It was a good week. I know it makes sense, but it always surprises me how much progress I can make when I get to devote some real time to the build. Once I get back to working during the week, I’m going to have to be more disciplined about working in the evenings to get this job done.


14 August 2014: Fuselage 73

Hours today: 4.2 Hours fuse: 192.3 Hours total: 609.1
Rivets today: 739 Rivets fuse: 3879 Rivets total: 12 182

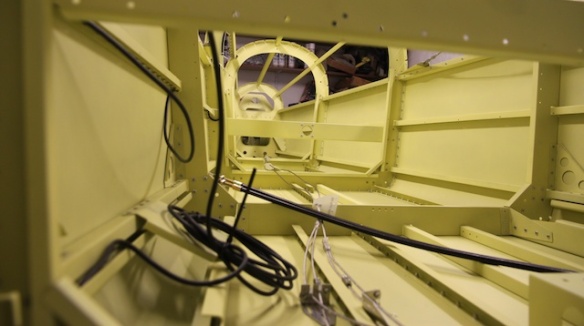
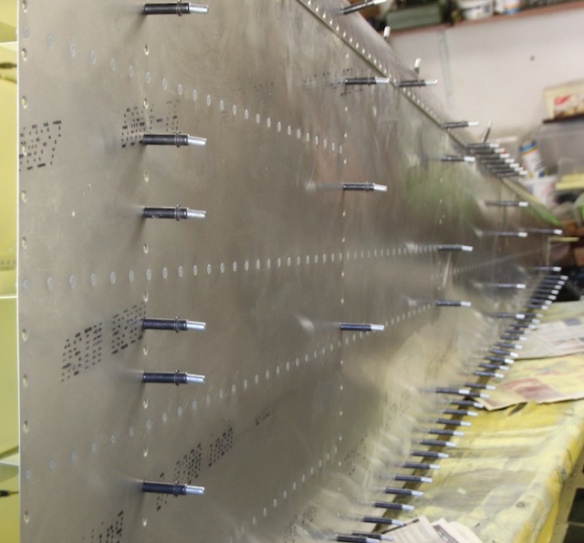
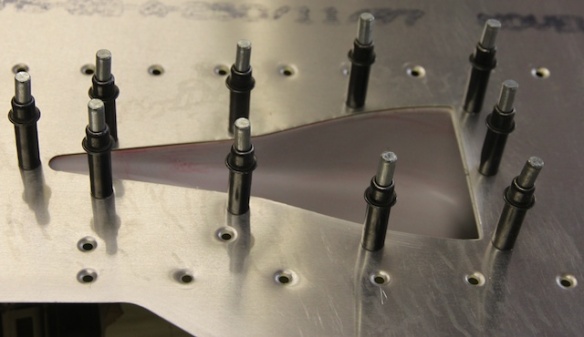
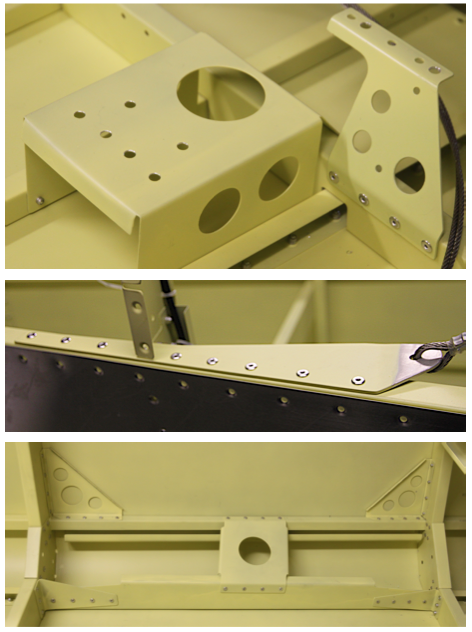
I continued riveting on the lower rear fuselage skins. It’s a pretty big job but went quite smoothly. What didn’t go smoothly, as I mentioned yesterday, were the fittings inside the fuselage. There’s limited space, so quite a few had to go on with the hand riveter, at the cost of some violence to the pretty primer surfaces.

From top: rudder box; seatbelt anchor, left hand step reinforcement

From top: rudder box and autopilot anchor drilled for rivnuts; right seat belt anchor, left hand step reinforcement

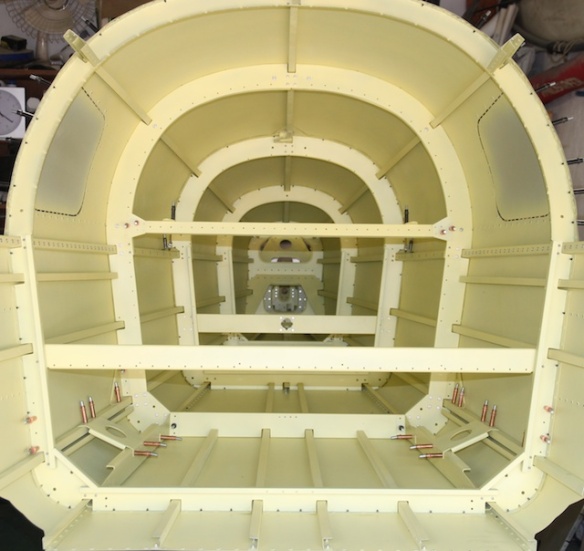
I also played a bit with the rudder cables and some of the wiring, to see how it might all fit together. Here’s the finished job with the top skins off for access:

Lower fuselage

Lower rear fuselage

13 August 2014: Fuselage 72

Hours today: 4.4 Hours fuse: 188.1 Hours total: 604.9
Rivets today: 339 Rivets fuse: 3140 Rivets total: 11 443

I test fitted the skins to the rear fuselage:

Test fitted skins to rear fuselage

Test fitted skins to rear fuselage

It’s necessary to test fit all the skins to make sure that everything fits nicely. Having done that, I’d recommend riveting the step reinforcing structures (bottom left and right above) _before_ putting the skins on. It is quite a mission to do afterwards, I say with the voice of experience.

But now that the skins are on, I started assembling:

Underside of rear fuselage awaiting riveting

Underside of rear fuselage awaiting riveting

I started by riveting all the skins around the rear of the fuselage. If I were to this again, I’d start with the floor, seen above, so that I had a flat surface to rest the fuselage on for the rest of the operation.


12 August 2014: Fuselage 71

Hours today: 3.7 Hours fuse: 183.7 Hours total: 600.5
Rivets today: -2 Rivets fuse: 2801 Rivets total: 11 104

600 hours! That would be a long way into a Com career if that’s how I’d gone…

I continued filling rivets on the underside of the rear fuselage, and completed one aileron.

Aileron with all rivets filled

Aileron with all rivets filled

I degreased and primed the two skins that I dimpled yesterday, that go on the outside of the cockpit. Here’s one of them:

Cockpit outside side skin waiting for assembly.

Cockpit outside side skin waiting for assembly.

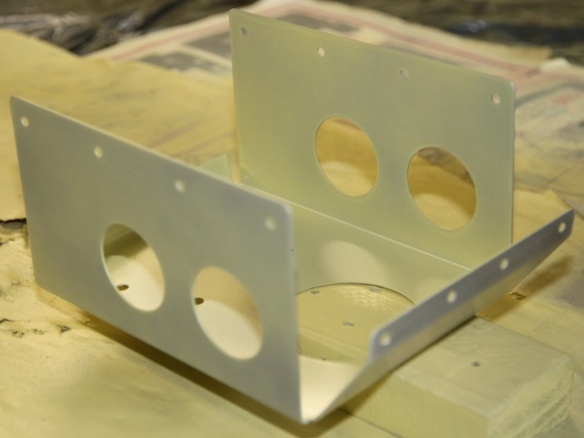
One of the things that goes onto that skin is the air intake. These are fibre-glass mouldings. I drilled them to fit the skins, then countersunk. There’s a danger that there’s too little fibre-glass there now, so I’ll put washers in behind the fibreglass before riveting.

Air intake drilled, countersunk and being tested in position

Air intake drilled, countersunk and being tested in position

I think the fibreglass parts are some of the visual highlights of the Sling, and this intake is definitely one of those.

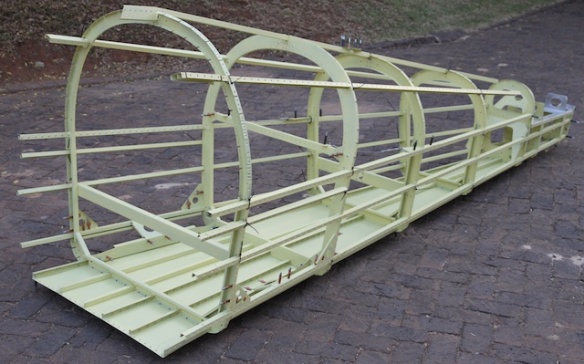
And to improve my level of excitement, I test assembled the ribs and longerons to the rear fuselage floor, holding everything together with cable ties for now. In the process, I discovered that two of my rivets were premature, hence the -2 in the totals above. I removed them where they would clash on assembly with a rib.

Rear fuselage longerons and ribs

Rear fuselage longerons and ribs

This is a pretty light and flimsy construction, but standing on the work table, it seems to take up so much space. A bit scary, as the whole project becomes more real.


31 December 2013: Fuselage 22 – all rear fuselage parts prepped

Hours today: 5.5 Hours wings: 285.9 Hours fuse: 67.9 Hours total: 452.7
Rivets today: 0 Rivets wings: 5949 Rivets fuse: 570 Rivets total: 8598

Today is a minor milestone: I have finished prepping all the parts for the rear fuselage. I don’t want to assemble it yet, as it is big, and right now the left wing is still sitting in the work space. I also plan only to assemble the rear fuselage immediately before it is required to mate with the center fuselage so as to keep the work space a bit clearer for a bit longer. The downside of this strategy is that the garage is rapidly filling up with finished parts.

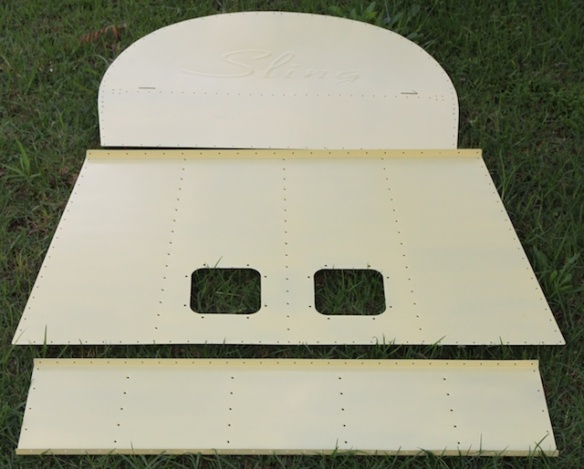
So I finished the luggage compartment skins,

Luggage compartment skins

Luggage compartment skins

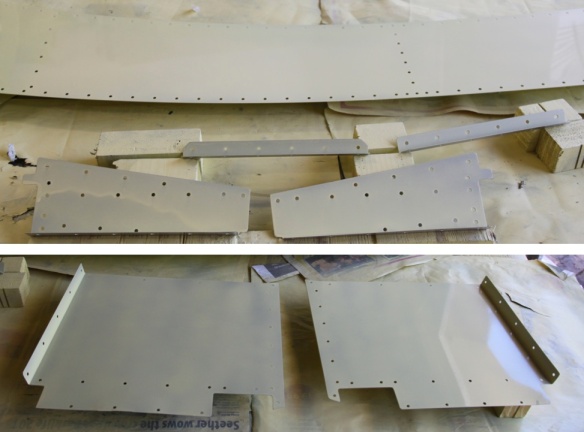
and a few other bits and pieces of the rear fuselage.

Skins and part needed to complete the rear fuselage.

Skins and part needed to complete the rear fuselage.

The instructions refer to a number of components that go in the walls of the luggage compartment, but are fitted when the rear fuselage meets the center. They’re the squarish skins above, and the triangle and angle brackets. Also visible in the picture is one of the skins, 1 or 14. These two skins make up the front of the rear fuselage, where the canopy starts. The fuselage has two skins at this point, giving it some apparent thickness.

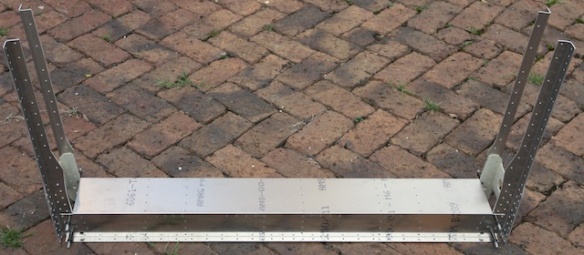
So that’s all done. What now? I started with a test fit of the components that go immediately onto the gear spar. What I’m calling the gear spar starts with the main gear mounting box, a big rectangular channel that forms a hole in the bottom of the plane. The rear wheels are on a suspension element that runs through the channel. Here’s the test fit:

Test fit of gear spar components

Test fit of gear spar components

I also prepared (deburr, roughen, degrease, prime) the components that make up the gear and seat mounting assembly:

Gear and seat mounting assembly components

Gear and seat mounting assembly components

A good way to end the year – making fast progress.


30 December 2013: Fuselage 21

Hours today: 4.5 Hours wings: 285.9 Hours fuse: 62.4 Hours total: 447.2
Rivets today: 0 Rivets wings: 5949 Rivets fuse: 570 Rivets total: 8598

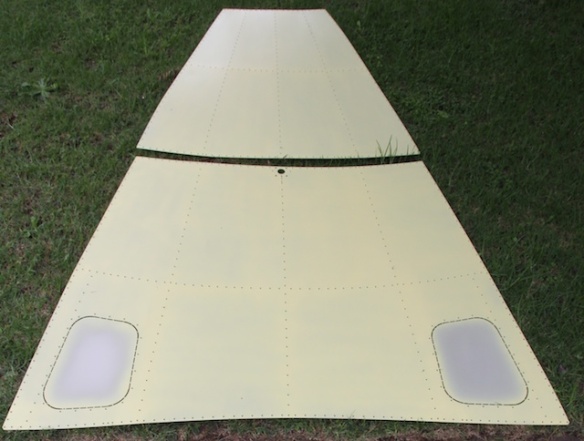
I finished skins 2 and 3 on the rear fuselage, the two top skins. I also primed the luggage compartment skin that has the Sling logo on it, as well as started prepping skins 1 and 14, and the parts that make up the bracket holder for the rear of the canopy.

Skins 2 and 3 of the rear fuselage. The window panels have not been punched out, and appear a bit strange as they weren't properly primed.

Skins 2 and 3 of the rear fuselage. The window panels have not been punched out, and appear a bit strange as they weren’t properly primed.

28 December 2013: Wing 71 and Fuselage 20

Hours today: 1.4, 2.5 Hours wings: 285.9 Hours fuse: 56.6 Hours total: 441.4
Rivets today: 0 Rivets wings: 5949 Rivets fuse: 570 Rivets total: 8598

Installed the tank, but one of the new brackets didn’t fit at all, so I redid it. I struggled to get all the bolts into the nut retainers because the holes weren’t lined up.

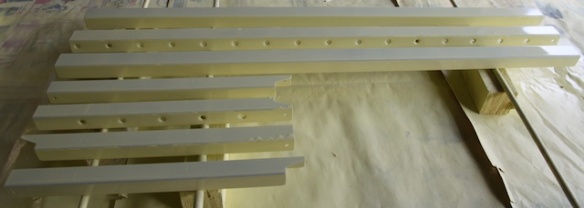
I also spent some time preparing and priming the stringers that go under the luggage compartments.

Stringers that go under the luggage area

Stringers that go under the luggage area


23 December 2013: Left wing 69

Hours today: 0.7 Hours wings: 285.9 Hours fuse: 52.7 Hours total: 437.5
Rivets today: 0 Rivets wings: 5949 Rivets fuse: 570 Rivets total: 8598

Christmas is steaming closer, but I got in a little time today. I’m happy that the tank is holding air pressure, so it doesn’t have any leaks. So I fitted the tank to the wing, and started smoothing the rivet heads.

I had some difficulty where the tank overlaps the leading edge. The rib that is in that area doesn’t fit perfectly (I think I abused these parts when putting them in, and they’ve got warps that aren’t helpful). So when I put the wing over the leading edge and rib, I couldn’t get the cleco’s to grab the rib. I tried manipulate rib using an allen key, but I dropped it into the wing. Woops.

Rib on leading edge

Rib on leading edge

22 December 2013: Fuselage 19

Hours today: 0, 3.9 Hours wings: 285.2 Hours fuse: 52.7 Hours total: 436.8
Rivets today: 0 Rivets wings: 5949 Rivets fuse: 570 Rivets total: 8598

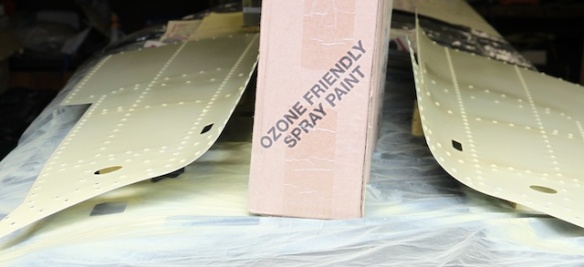
I started by priming the step parts I prepped yesterday. Then I prepped and primed the two lower skins from the rear of the rear fuselage. Here, they’re set up for priming with a row of boxes between them so that the overspray doesn’t get on the outside of the skins.

Skins 5

Skins 5

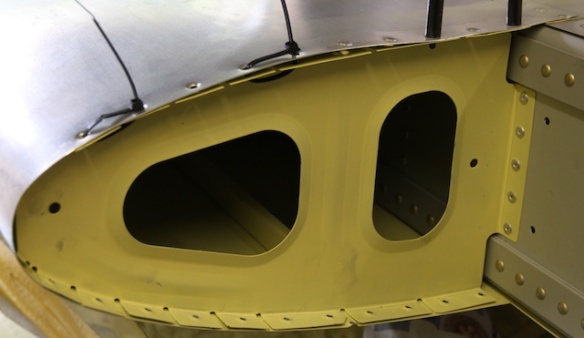
I also prepped the rudder box and primed it. There’s something about its cute box shape that really appeals to me.

rudder_box

Rudder box

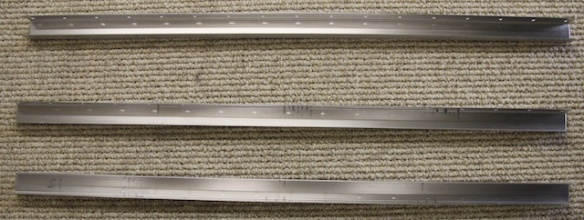
Finally, I spent some time prepping the strips that go under the luggage compartment. I didn’t get as far as priming.

Channels that go beneath the luggage compartment.

Channels that go beneath the luggage compartment.